Finding your suitable readers for water inside clock of coffee maker wont work is not easy. You may need consider between hundred or thousand products from many store. In this article, we make a short list of the best readers for water inside clock of coffee maker wont work including detail information and customer reviews. Let’s find out which is your favorite one.
552 reviews analysed


1. GE 33661 Surge Protector, Outlet 800J 6′ Cord Safety Covers, 6 ft, Black

Feature
- Power more: 6 grounded outlets with flat plug
- Extra long cord: the 6Ft power cord provides optimal reach
- Protection: 800 joules protection rating, integrated circuit breaker, and $100, 000 (used) connected equipment warranty
- Safety locks: child proof outlets have twist-to-lock safety covers
- Trusted brand: GE is the #1 brand in surge protection
2. Cuisinart DCC-1100BK 12-Cup Programmable Coffeemaker, Black

Feature
- Fully automatic coffeemaker with 24-hour Programmability
- 12-Cup carafe with ergonomic handle, dripless spout, and knuckle guard
- 1- to 4-cup setting; brew Pause; self cleaning; 60-second reset
- Includes charcoal water filter, Permanent gold-tone Coffee filter, measuring scoop and instruction book.
Description
The Cuisinart DCC-1100 12-Cup Programmable Coffeemaker
This classically designed coffeemaker is accented with stainless steel for a look that is sure to enhance your countertop. The 12-cup carafe features an ergonomic handle, dripless spout and knuckle guard for comfortable, drip-free pouring. Fully automatic, the DCC-1100 has 24-hour programmability and 1-4 cup setting for those times when you don’t need a full cup of coffee. The Brew Pause feature lets you pour a cup before brewing is completed, while the gold tone coffee filter and charcoal water filter ensure fresh, delicious tasting coffee.
The Quest for a Perfect Cup of Coffee
It is generally agreed that there are four basic elements critical to the perfect cup:
Element 1. Water
Coffee is 98% water. Often overlooked, the quality of the water is as important as the quality of the coffee. A good rule of thumb is that if your water doesn’t taste good from the tap, it won’t taste any better in your coffee. That’s why Cuisinart has added a water filter to the Cuisinart Classic 12-cup programmable coffeemaker. The charcoal water filter removes chlorine, bad tastes and odors, for the purest cup of coffee every time.
Element 2. Coffee
While the bulk of the liquid is water, all of the flavor should be from the coffee. To achieve the same great quality of coffee you receive at a coffee bar, you need to use the same quality beans. Buy the beans fresh and whole, only about a two weeks’ supply at a time for maximum freshness. Once the coffee bean is broken, its flavor degrades very quickly. If it is not practical to buy small supplies, we recommend you separate larger amounts of beans into one to two week portions immediately after purchase, and freeze them in airtight containers. The best way to maximize freshness is to minimize exposure to air, light and moisture. So, once removed from the freezer, beans should be maintained in a sealed container at room temperature, since damaging condensation occurs every time the beans are removed from the freezer or refrigerator. Note that some coffee experts advise against freezing dark-roast beans, because freezing can cause the oils to coagulate. Other experts disagree. We suggest you experiment and decide yourself.
Element 3. Grind
The grind of the coffee is critical for proper flavor extraction. If the grind is too fine, over extraction and bitterness will result. Too fine a grind may also clog the filter. If the grind is too coarse, the water will pass through too quickly and the desired flavors will not be extracted. A medium-fine grind is recommended.
Element 4. Proportion
The cups on the Cuisinart coffeemaker measure 5 ounces. Add the amount of ground coffee that corresponds to the number of cups being brewed. Many coffee bars and the Specialty Coffee Association of America recommend adding 2 rounded tablespoons of coffee per 6 ounces of water. Some coffee manufactures recommend using 1 tablespoon per cup. Cuisinart recommends using 1 tablespoon of ground coffee per cup, but use more or less to suit your taste. Note: the maximum capacity for ground coffee is 15 tablespoons for the 12-cup coffeemaker. Exceeding this amount may cause overflow if the coffee is too finely ground.
Features and Benefits
You’ll love the way your new Cuisinart Classic 12-Cup Programmable Coffeemaker looks on your counter as it’s brewing 12 cups of fabulous coffee. The Cuisinart Classic 12-Cup Programmable Coffeemaker is a statement about how serious you are about your coffee – and your kitchen. Enjoy the full programmability, extreme ease of use, and great tasting coffee.

- Reservoir Cover: Flips back for easy filling.
- Water Reservoir: Open the cover by lifting it up. Pour the desired amount of water in the reservoir using step water level indicator located at the rear of the reservoir.
- Showerhead: Distributes water evenly over coffee, reducing temperature loss as water passes through grounds.
- Water Filter: Charcoal water filter eliminates chlorine, calcium and bad tastes or odors from tap water. Cuisinart recommends changing the water filter every 60 days or 60 uses ‒ or more often if you have hard water.
- Filter Basket: Holds a #4 paper filter or a permanent filter.
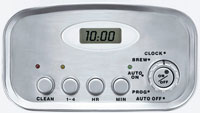
- LCD Digital Clock: Displays the time of day and set time for automatic functions.
- Function Knob: Used to initiate programming of automatic functions ‒ Auto On, Auto Off, Program, Clock and Brew. The Auto On feature is used to program the start time of the brew cycle. The Auto On can be set for any time, day or night. The PM indicator is displayed on the LCD for nighttime program times. The Auto Off feature is used to shut off the coffeemaker at a preset time, anywhere from 0 to 4 hours. Note: To program the coffeemaker to shut off automatically, read the instructions included in the Instruction Manual under ‘To program the Variable Auto Off’
- 1-4 Cup Setting: For brewing smaller pots of coffee. It provides double heating of the water, so coffee is piping hot.
- Clean Setting: Tells you when it’s time to clean your coffeemaker. Remove built-up calcification from the water reservoir, to help extend the life of your coffeemaker.
- Brew Pause: Stops flow of coffee from basket when carafe is removed (30 seconds max) from the heater plate, so a cup can be poured in mid-brew. Since the flavor extraction rate varies during the brew cycle, we recommend allowing the brewing cycle to finish before pouring the coffee. The coffee brewed at the beginning of the cycle has a flavor profile which is very different from the flavor at the end of the cycle. Once the coffee has finished brewing, stir it before serving to blend the flavors. The coffee at the bottom of the carafe will be somewhat stronger than the coffee at the top.
- Carafe: The easy pour, no drip, 12-cup glass carafe has an ergonomic handle and brewed coffee markings for two to twelve cups.
- Heating Plate: Scratch resistant with black, nonstick coating.
- Ready Tone: Signals the end of the brew cycle with five beeps (coffee will continue to stream from the filter for a few seconds after the tone).
- Power Loss Back-up System: One-minute protection in case of power fails, breaker trips, or unit is unplugged. It holds all programmed information, including the time of day, auto on time and auto off time.
- Cord Storage
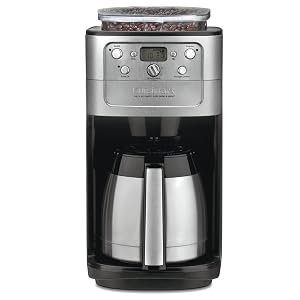
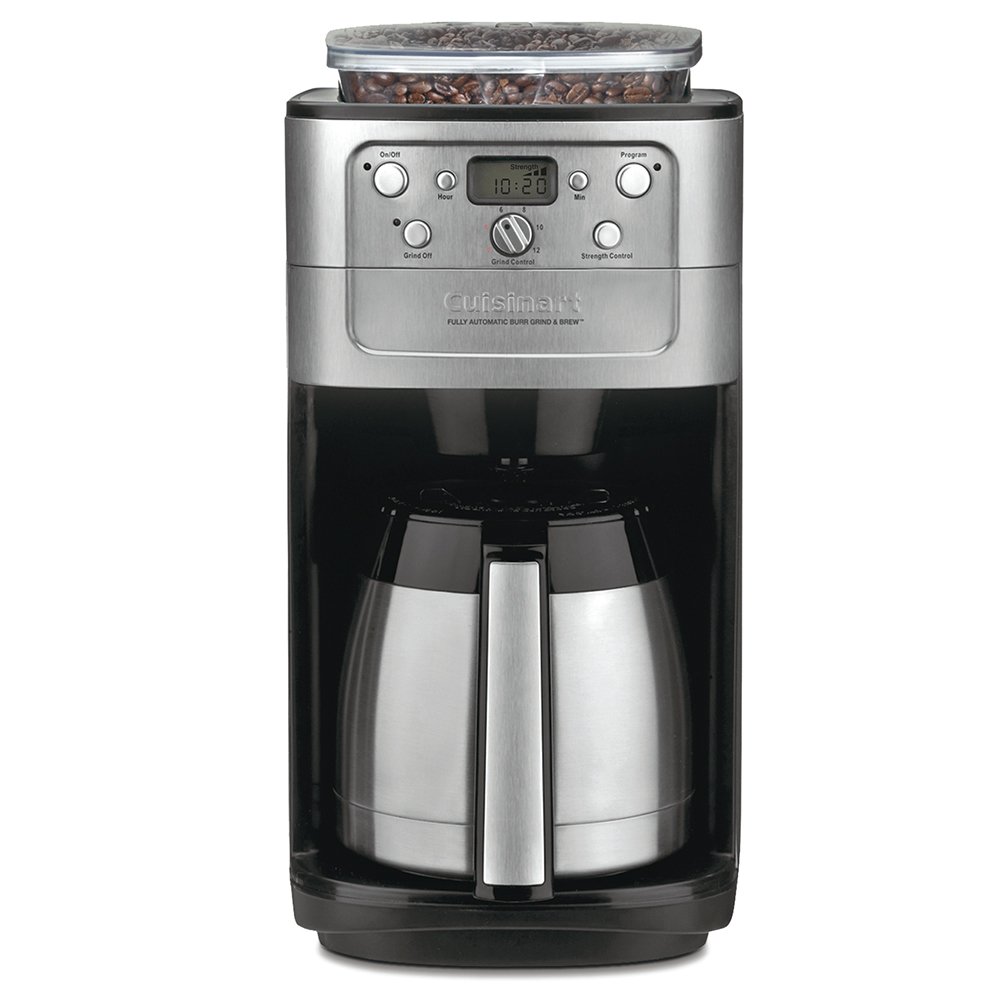
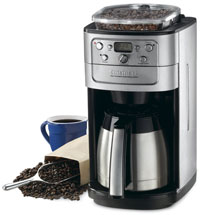
3. Cuisinart DGB-900BC Grind & Brew Thermal 12-Cup Automatic Coffeemaker
Feature
- 24-hour fully programmable coffeemaker with auto shutoff, brew-pause feature, and Grind off function
- Double-wall insulated stainless steel thermal carafe with comfort grip handle holds up to 12 cups of coffee
- Built-in automatic burr grinder and 8-ounce bean hopper holds a half pound of beans. Strength selector and grind control fine-tune intensity and volume
- Includes: Charcoal water filter and permanent gold tone filter that ensures only the freshest coffee flavor flows through. Measuring scoop. Instruction book
- Product Built to North American Electrical Standards.Please refer the set up/ troubleshooting details provided in the video under images section and the manual under product description field for the smooth usage of the product
- Note: Pg 10 from the user manual notes the proper way to place and lock the carafe lid for brewing and pouring
Description
Product Description
Easily brew up to 12 cups of great-tasting coffee with this 24-hour fully programmable coffeemaker. The unit comes equipped with a built-in burr grinder, which automatically grinds beans right before brewing, and its grind-control function makes it easy to program the amount of coffee to grind–from 2 to 12 cups. In addition, its strength selector allows for choosing from strong, medium, or mild coffee. The unit’s bean hopper holds up to a half pound of beans and comes with a sealed lid to prevent moisture. Other highlights include automatic shut-off after brewing, a grind-off option, and an integrated 2- to 4-cup feature, as well as a Gold tone commercial-style permanent filter and charcoal water filter to remove impurities, and a brew-pause function for sneaking a cup midbrew. A 12-cup (5 ounces each) double-wall insulated thermal carafe comes included, which seals in heat and freshness so the last cup tastes as good as the first. The coffeemaker measures 10-2/3 by 8-4/9 by 16-1/4 inches and carries a three-year limited warranty.
From the Manufacturer
The Cuisinart DGB-900BC Fully Automatic Burr Grind & Brew Thermal Coffeemaker
The burr mill grinder in the new Fully Automatic Burr Grind & Brew Thermal Coffeemaker is responsible for the superior coffee flavor that you can experience. Add to that the pleasure of choosing the flavor strength you like best, easy-to-use controls, and a thermal carafe that keeps coffee hot and fresh for hours and you’ll understand why we say this Cuisinart coffeemaker is a grind above the rest.
The Quest for a Perfect Espresso
It is generally agreed that there are four basic elements critical to the perfect cup:
Element 1. Water:
Coffee is 98% water. Often overlooked, the quality of the water is as important as the quality of the coffee. A good rule of thumb is that if your water doesn’t taste good from the tap, it won’t taste any better in your coffee. That’s why Cuisinart has added a water filter to the Fully Automatic Burr Grind & Brew Coffeemaker. The charcoal water filter removes chlorine, bad tastes and odors, for the purest cup of coffee every time.
Element 2. Coffee:
While the bulk of the liquid is water, all of the flavor should be from the coffee. To achieve the same great quality of coffee you receive at a coffee bar, you need to use the same quality beans. Buy the beans fresh and whole, only about a two weeks’ supply at a time for maximum freshness. Once the coffee bean is broken, its flavor degrades very quickly. That’s why the Fully Automatic Burr Grind & Brew Coffeemaker grinds your coffee just prior to brewing. If it is not practical to buy small supplies, we recommend you separate larger amounts of beans into one to two week portions immediately after purchase, and freeze them in airtight containers. The best way to maximize freshness is to minimize exposure to air, light and moisture. So, once beans have been removed from the freezer, maintain them in a sealed container at room temperature, since damaging condensation occurs every time the beans are removed from the freezer or refrigerator. Note that some coffee experts advise against freezing dark-roast beans, because freezing can cause the oils to coagulate. Other experts disagree. We suggest you experiment and decide yourself. We recommend keeping the hopper at least half way full. Be sure that you have sufficient amount of beans in your hopper for the amount of coffee you intend to brew. Although it is preferable to use fresh, whole beans, you can make coffee in the coffeemaker using pre-ground beans. To do so, turn off the grinder by pressing the Grind Off button before turning on the unit. It is suggested to use 1 level scoop of ground coffee per cup and adjust the amount to your taste. The maximum capacity for ground coffee is 16 level scoops, using either a paper or permanent filter. Exceeding this amount may cause overflow.
Element 3. Grind:
The grind of the coffee is critical for proper flavor extraction. If the grind is too fine, over extraction and bitterness will result. Too fine a grind may also clog the filter. If the grind is too coarse, the water will pass through too quickly and the desired flavors will not be extracted. The Fully Automatic Burr Grind & Brew Coffeemaker is preset for a medium grind, the optimal grind for this type of coffeemaker.
Element 4. Proportion:
The Fully Automatic Burr Grind & Brew Coffeemaker makes up to twelve cups of (54 ounces) of coffee.
Making Coffee with Whole Beans

- Fill the Water Reservoir:
Open the reservoir lid. Pour the desired amount of water in the reservoir using the water level window indicator. Close the reservoir lid. Note: Do not exceed the 12-cup line; doing so may cause the carafe to overflow. - Add Beans:
Lift the hopper lid, using the recess on either side. Fill the hopper with beans. It is recommended keeping the hopper at least halfway full. Be sure that you have a sufficient amount of beans in your hopper for the amount of coffee you intend to brew (maximum capacity is 1/2-pound Do not over-pack the hopper. Over-packing may result in jamming the grinder.) For easy filling, the hopper container can be taken out by turning the hopper container release knob to the unlock position. Note: Do not put any water in the unit once the hopper container has been removed. If the water gets into the grinder motor, the motor may become damaged and may malfunction. Put hopper lid back in place. - Lock Hopper:
If you have removed the hopper from the unit, be sure that the hopper container release knob is in the unlocked position and place the hopper container back in the unit. Turn the knob to locked position. This unit is equipped with a safety interlock system. The unit will not grind if the hopper container is not in place. If you try to turn on the unit for grinding with the hopper out of place, the unit will beep continuously until the missing part is installed. The brewing process can be restarted by pressing the On button. Restarting the process will not affect coffee results. - Insert Coffee Filter:
Open filter door by pressing filter basket door release button. Remove filter basket cover and place a #4 basket paper filter or Cuisinart’s commercial style permanent filter in the basket. The unit is equipped with a safety interlock system. The units will not operate if the filter basket cover or filter basket are not in place or if the filter door is not closed. If you try to turn the unit on while the filter compartment is out of place, the unit will beep continuously until the missing part(s) are installed. - Brewing:
- Immediate Grinding and Brewing:
- Turn the Grind Control Knob to select the number of cups you want to brew. The coffeemaker will grind the corresponding amounts of beans. The unit will automatically adjust for low cup settings.
- Press the Strength Control button to set the coffee strength. MILD, MED or STRONG will show on the LCD display.
- Press the On button. The indicator will light and process will begin.
- Programmed Brewing:
Press the Program button. The indicator will light and the display will show the programmed time for as long as the button is depressed. The display reverts back to the time of day once the button is released.- Turn the Grind Control knob to select the number of cups you want to brew. The Coffeemaker will grind the corresponding amount of beans. The unit will automatically adjust for low cup settings.
- Press the Strength Control button to set coffee strength. MILD, MED or STRONG will show on the LCD display.
- The coffeemaker will begin brewing at the programmed time.
- Immediate Grinding and Brewing:
- During and After Brewing:
The Brew Pause feature allows you to remove the carafe from the resting plate during mid-brew. The brewing process does not stop during this period; only the flow of coffee from the basket stops. Do not remove the carafe for longer than 20 seconds or the coffee may overflow the basket. While Cuisinart offers this feature, it is not recommended that you pour coffee before the cycle has reached completion, since the coffee brewed at the beginning of the cycle has a flavor profile which is very different from the coffee made at the end of the cycle. Removing the cup during the brewing cycle will alter the flavor of the finished pot. When the brewing cycle is completed, five beeps will sound. Coffee will continue to stream from the filer for several seconds. After brewing, the unit will automatically shut itself off. The thermal carafe will keep the coffee hot for hours.
Making Coffee with Pre-Ground Beans

- Fill the Water Reservoir:
Open the reservoir lid. Pour the desired amount of water in the reservoir using the water level window indicator. Close the reservoir lid. Note: Do not exceed the 12 cup line; doing so may cause the carafe to overflow. - Add Coffee Grounds:
- Open filter door. Add ground coffee to the permanent or #4 paper filter.
- Place filter basket lid in place and close filter door.
- Brewing:
- Immediate Grinding and Brewing:
- Press the Grind Off button. When this function is activated, an amber LED will be illuminated.
- Press the On button. The indicator will light and the process will begin.
- Programmed Brewing:
Press the Program button. The indicator will light and the display will show the programmed time for as long as the button is depressed. The display reverts back to the time of day once the button is released.- Press the Grind Off button. When this function is activated, an amber LED will be illuminated.
- The coffeemaker will begin brewing at the programmed time.
- Immediate Grinding and Brewing:
For additional product information, see the reference manual above.
Brand Story
By Cuisinart
4. ThermoPro Digital Instant Read Meat Thermometer for Grilling Cooking Food Candy Thermometer for BBQ Smoker Grill Smoker Oil Fry Kitchen Thermometer with Backlit

Feature
- 【SUPER LONG PROBE】Grill thermometer has super long 5.3″ food grade, stainless steel probe to let you avoid the heat and not get too close to uncomfortable hot food or hot surfaces
- 【LOCK FUNCTION】Kitchen meat thermometer can lock the current temperature when the probe is removed from food and keep the temp displayed, no more dangerously peering into the oven or grill
- 【ACCURATE READOUT】 Instant read turkey thermometer with a step-down design can be accurate to ±0.9°F(±0.5°C), wide temperature range of -58°F ~ 572°F (-50°C ~ 300°C)
- Making this instant read thermometer the perfect choice for cooking, grilling, BBQ and any type of meat
- 【INTELLIGENT DESIGN】Sleek digital food thermometer features magnetic back and hook to allow for convenient storage
- Cooking thermometer with backlit display ensures readability in dim light conditions
- °C/°F switchable
- Battery included
- 【3 YEARS WARRANTY! Register your grilling thermometer after purchase and increase your warranty coverage from 1 year to 3 years】Thermopro US based customer service (phone & email) 5 days a week, reach us at 1877-515-7797 or [email protected]
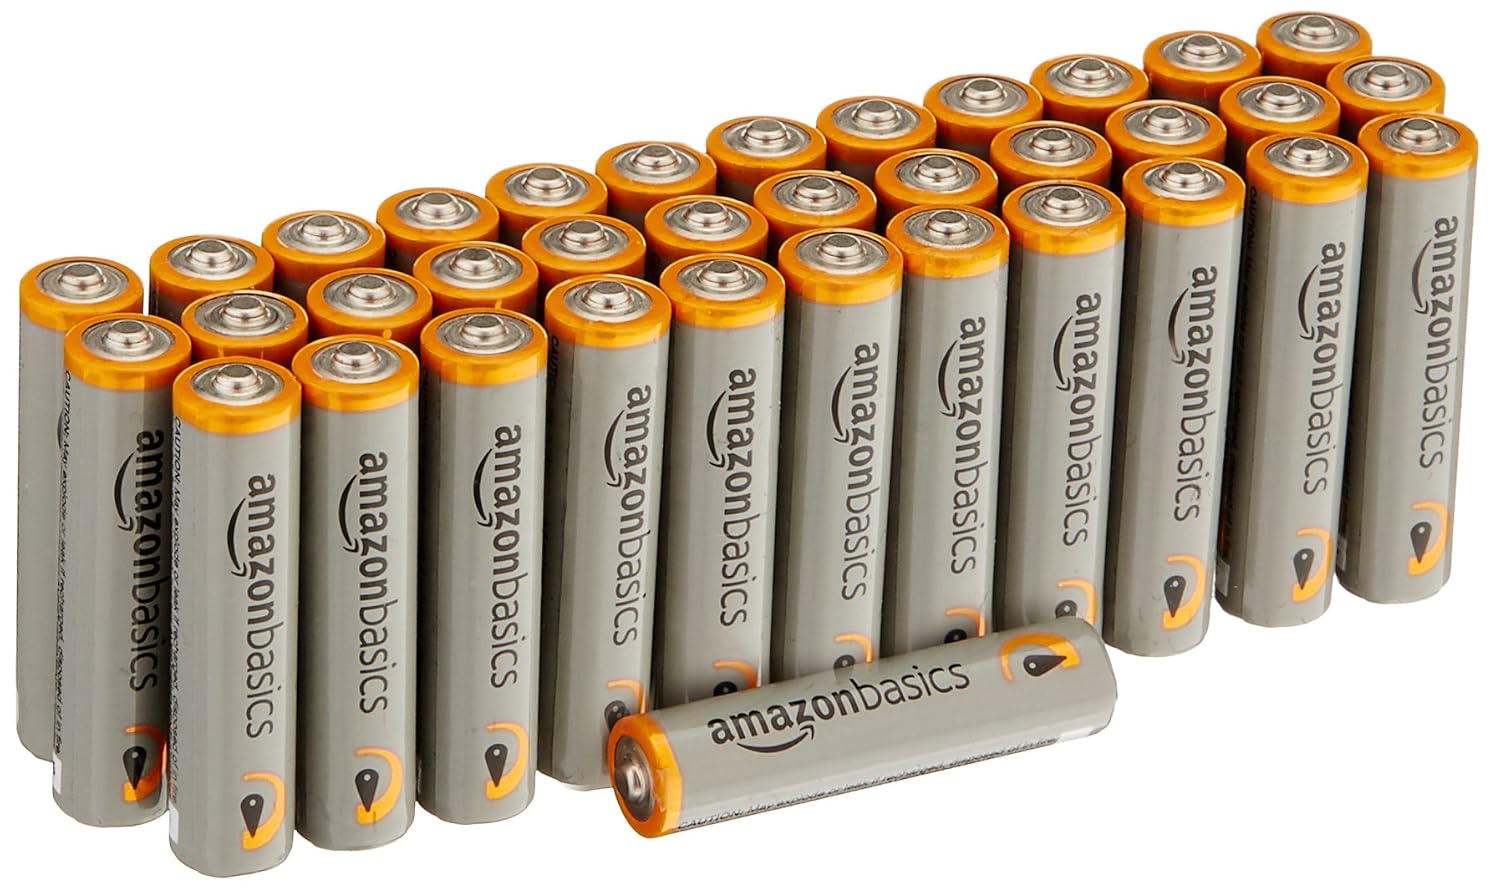
5. AmazonBasics AAA 1.5 Volt Performance Alkaline Batteries – Pack of 36
6. ASURION 4 Year Housewares Protection Plan $30-39.99

Feature
- No deductibles or added costs. Parts, labor and shipping included.
- Drops, spills and cracked screens covered from day one for portable products only.
- Other breakdowns covered after the manufacturer’s warranty expires.
- File a claim online or by phone 24/7. If we can’t repair it, we’ll replace it or reimburse the purchase price with an Amazon e-gift card.
- Plans are only valid for new or certified refurbished products purchased in the last 30 days with no pre-existing damage. Protection plan documents will be delivered via email within 24 hours of purchase.
7. #redeye – 11oz Hashtag Ceramic Colored Handle and Inside Coffee Mug Cup, Pink

Feature
- ✅ STURDY AND DURABLE – Our 11oz coffee mug features a durable construction, a clean and refined look, bright vibrant coloring and perfect printing. Premium ceramic used in the manufacturing process gives this mug a nice sturdy feel. The handle is smooth and perfectly sized for hands of all sizes.
- ✅ PERFECT GIFT – This is a great opportunity to give a gift for Valentine’s Day, Christmas, Mother’s day, Father’s Day, Birthdays, Wedding Gifts, or any gift giving holiday. It is even great for groups, corporate events, bachelor or bachelorette events, parties, and more.
- ✅ SAFETY FIRST – This mug is dishwasher safe and microwave safe. That means you don’t have to add to the already huge pile of dishes in your sink. You can drink without a care and then drop it into the dishwasher.
- ✅ PERFECT QUALITY PRINTING – All artwork is printed using our new nontoxic dye based ink process. This means the print can never peel or fade because it becomes one with the mug. We quality check each item before shipping to make sure it is the highest quality possible.
Description
This 11oz coffee mug makes a great gift for yourself or someone else. Premium quality ceramic and our new durable printing method mean this mug is sure to last.
Conclusion
By our suggestions above, we hope that you can found Water Inside Clock Of Coffee Maker Wont Work for you.Please don’t forget to share your experience by comment in this post. Thank you!